
House projects
How to make a DIY cardboard house
Turn a shipping box into a tabletop house. Draw your own pattern, fit a pitched roof, and give the finished piece a style of its own.
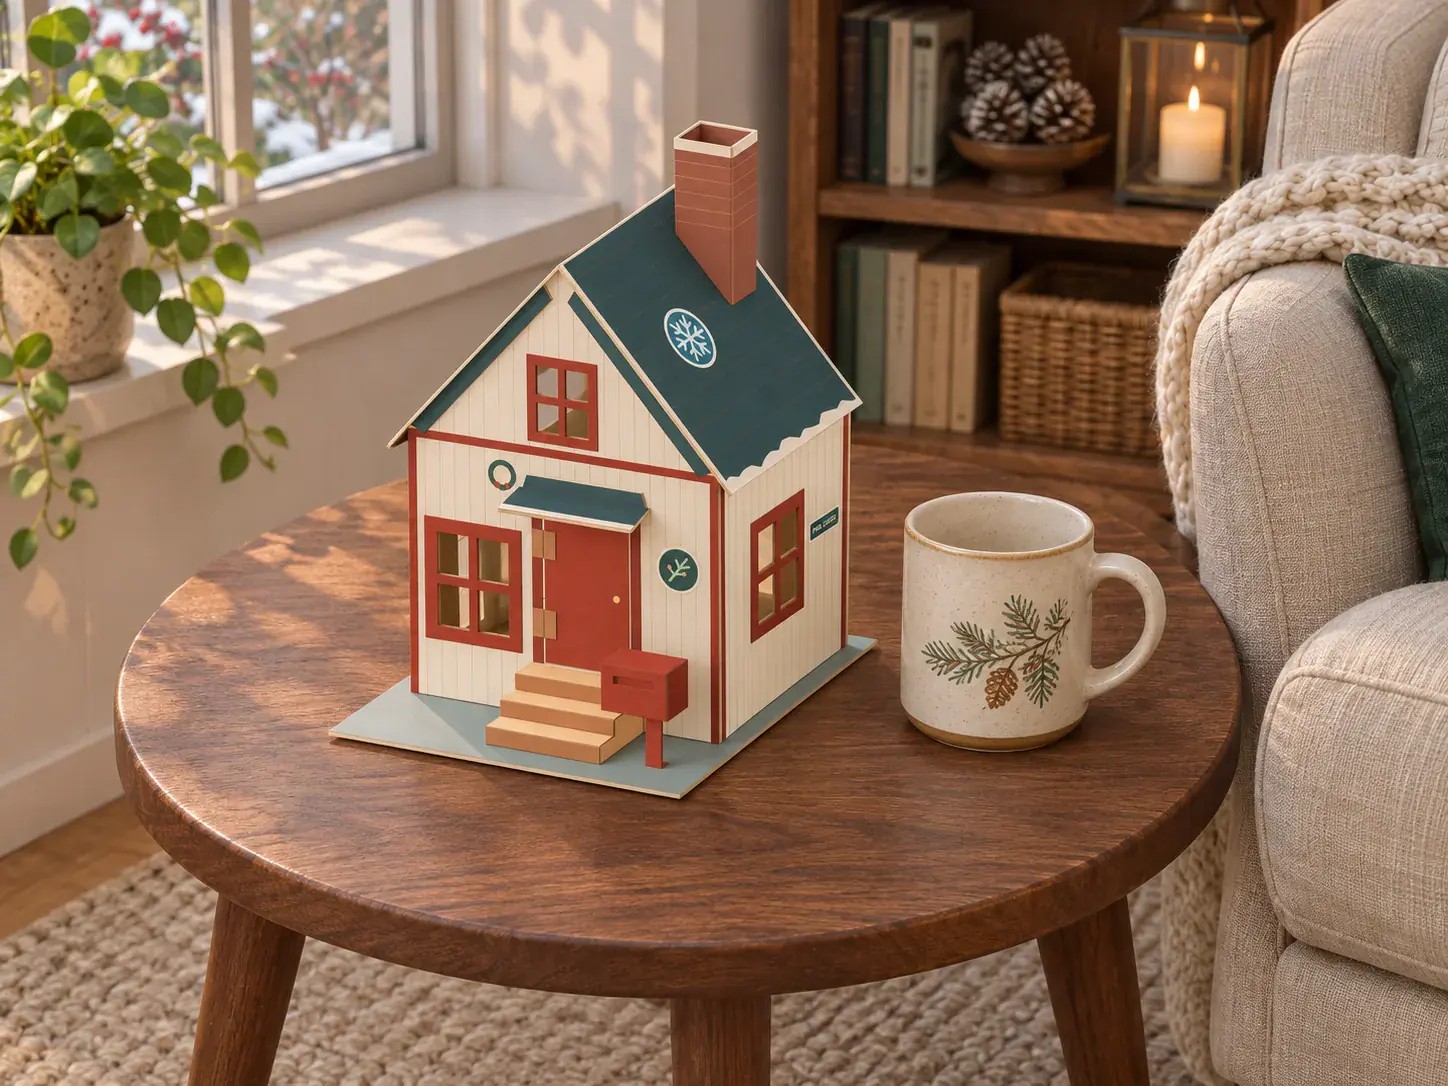
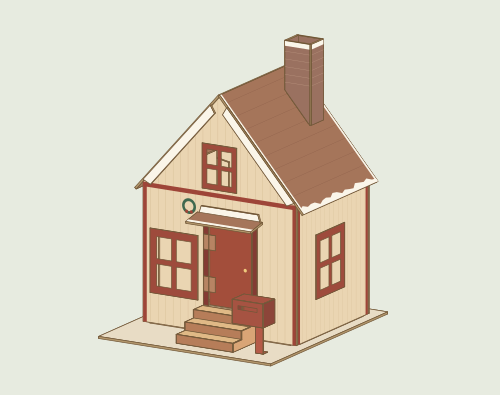
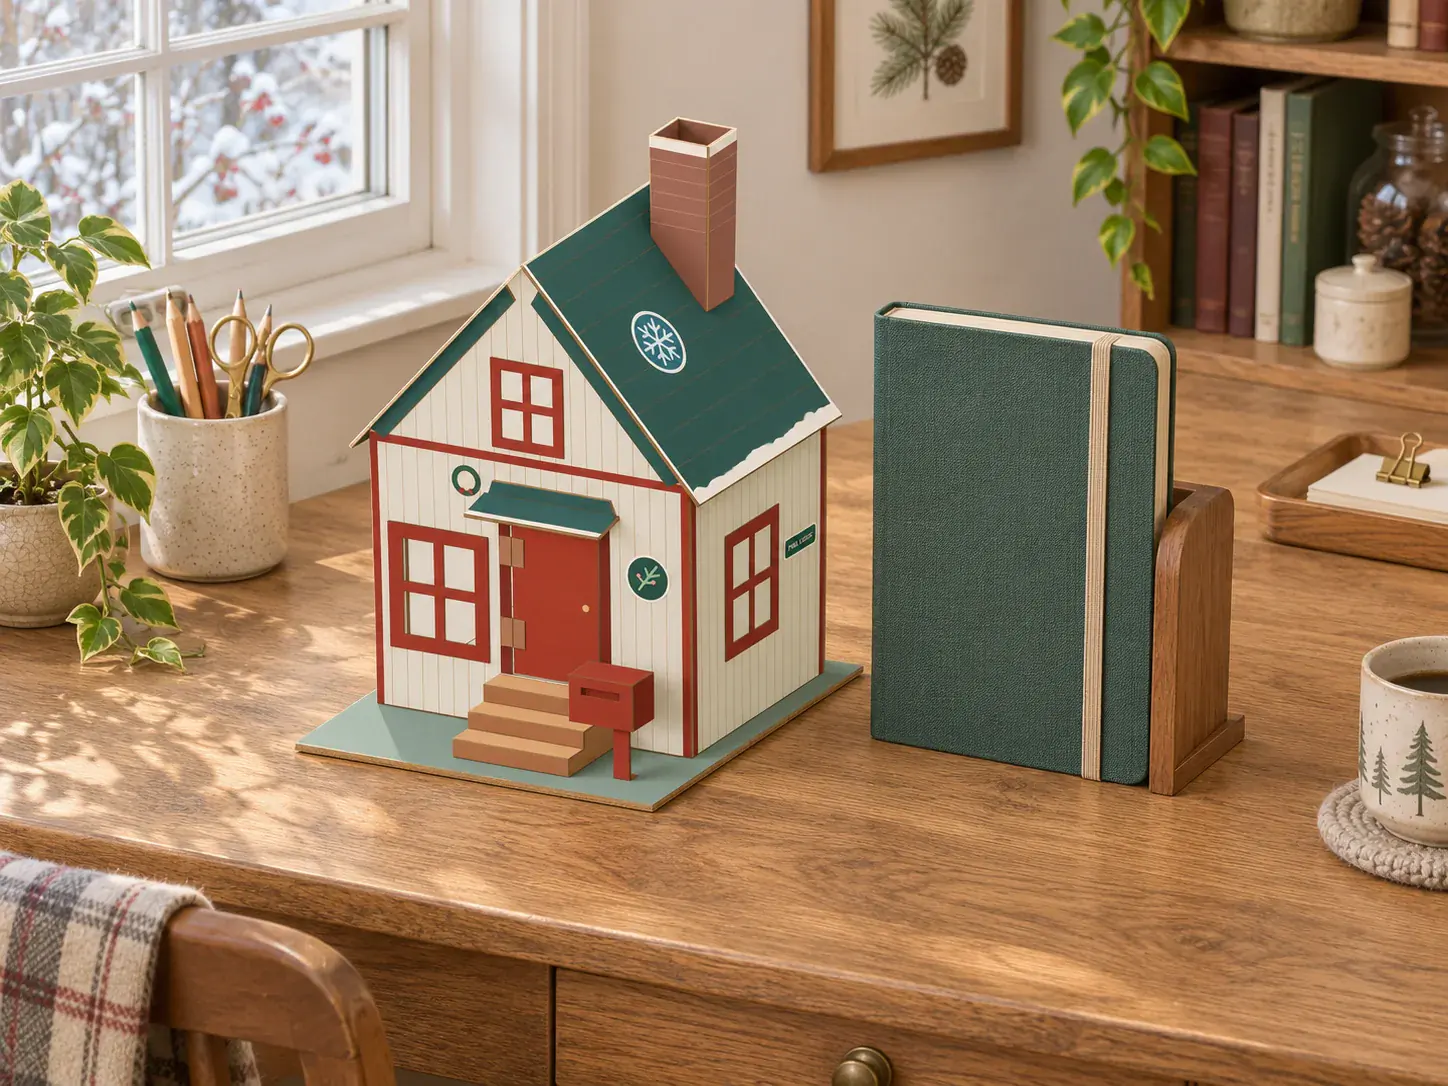
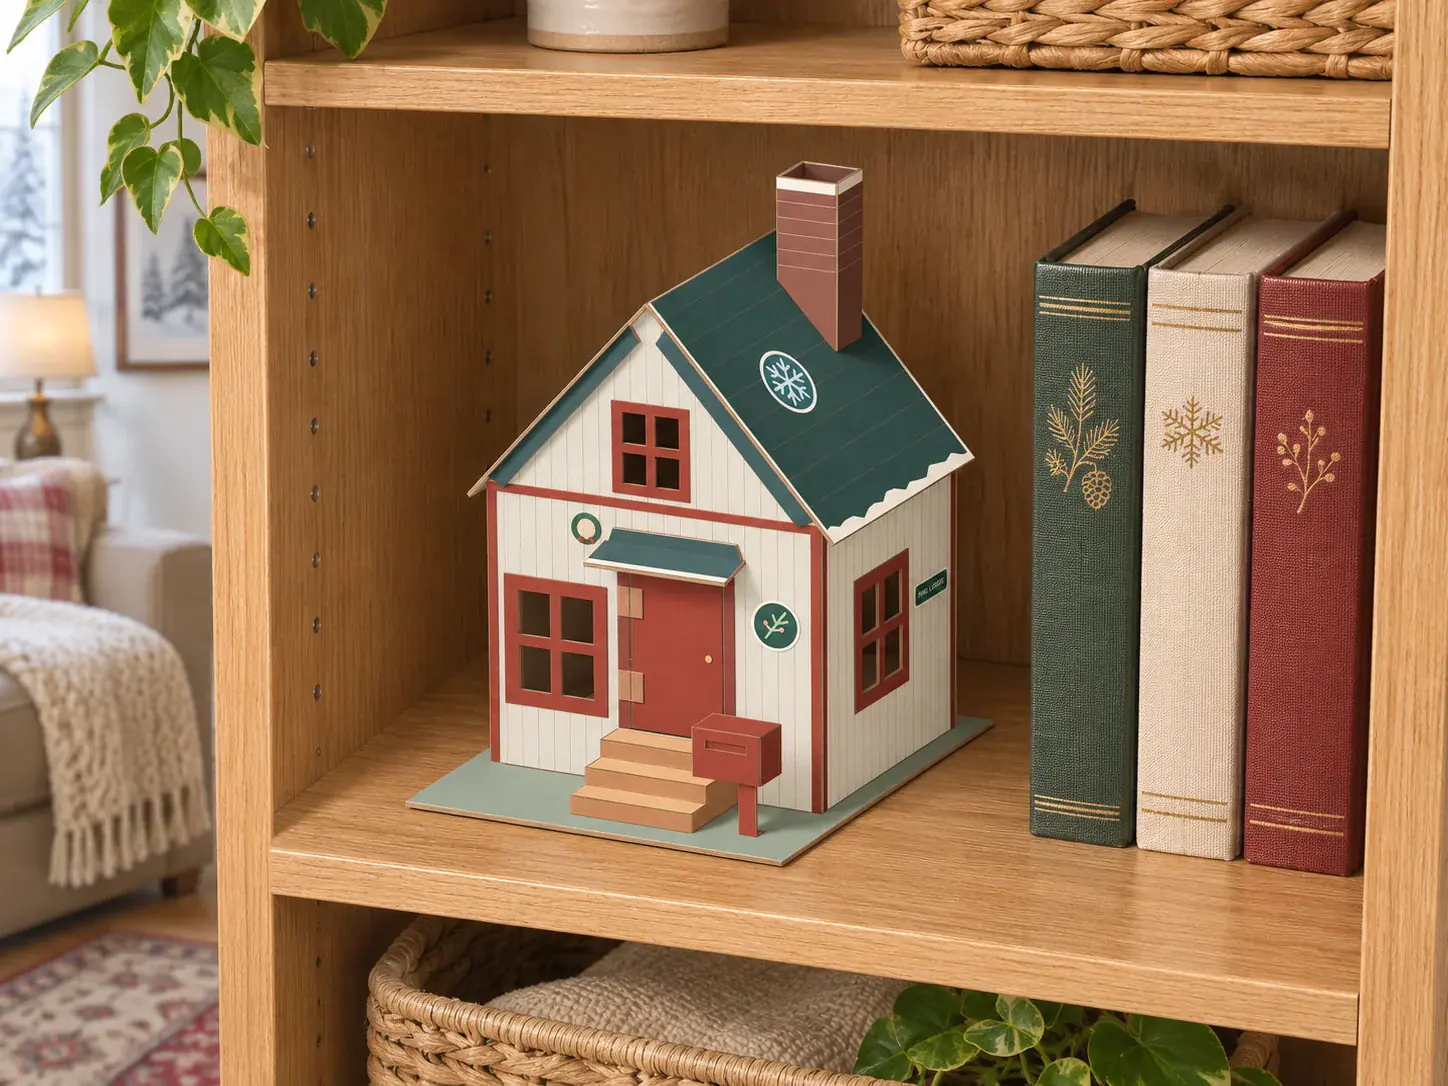
Start with a simple open-back house. You can reach through the back to glue the corners and see whether the roof sits evenly. Once you have the shape you want, the same approach works for a cottage, a shop, or a whole row of houses.
Prepare your materials and tools
Start with clean, dry packaging you already have. A wavy layer at the cut edge means corrugated cardboard. A thin, solid edge means paperboard.
Cardboard boxes to look for
 Amazon or delivery box
Use a flat side away from tape, old folds, and crushed corners.
 Coke or Pepsi multipack
Look for a flat, solid edge. Use a large panel clear of handle holes.
 Cereal box
Try the broad front or back panel. Measure away from the glued seam.
 Clean pizza box
Check the lid for one wavy layer and matching thickness. Use an area free of grease and moisture.
Tools to put on the workbench
 Pencil, ruler and blunt scorer
Trace the pattern and mark fold lines. Use calipers to check board thickness.
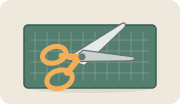 Scissors
Cut paper patterns, stickers and thin paperboard.
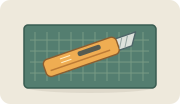 Craft knife, metal ruler and mat
Use light passes for stiff cardboard. An adult can handle the knife when children help.
 White PVA glue
Spread a thin coat on a flap. Test the bond on an offcut and hold the joint while it sets.
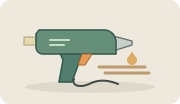 Low-temperature glue gun
Optional for thicker cardboard. An adult can test a thin bead on scrap and check that the joint still sits flat.
 Flexible cloth tape
For the Winter Cottage door hinge.
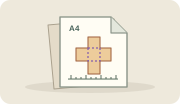
Prepare for Winter Cottage
A4 templates Use 210 × 297 mm paper. Print at 100% actual size and check the 100 mm scale on the sheet before tracing.
Finished display · About 18 × 20.4 × 25.7 cm (width × depth × height).
Use 2 mm single-wall board for the eight cottage pieces and the separate chimney. Use 0.5 mm solid paperboard for the windows, door, steps, and mailbox.
Open the box along its taped seam and check that the largest pattern fits on a flat panel. Measure away from crushed edges and old folds. Cut a scrap first to test your blade, fold, and glue.
Prepare the board
Set the opened box on the work surface and mark the areas where the original folds and tape run. Save the longest uninterrupted pieces for the roof. Keep thin cereal-box card for the window trim, shutters, and small joining strips. If a side wall rocks when you hold it upright, flatten the stock or choose a firmer panel before tracing its matching side.
Draw your cardboard house template
- Set the width and depth. Cut a paper rectangle that fits the shelf or table where the house will sit. Use it to choose the width of the front and the depth of the two side walls. Leave enough room on the shelf for a roof overhang.
- Draw the front wall. Start with a rectangle, mark the middle of the top edge, and add a centered triangle for the gable. Both sides of the triangle should meet the top corners of the rectangle.
- Draw two matching sides. Use the height of the rectangular part of the front wall. Each side is as long as the chosen house depth. Add a door or window to the paper front before you trace it.
- Try the pattern in paper. Hold the paper walls up around the base and check that they stand square. Decide whether the side panels meet the back of the front or sit beside its edges, then hold a strip of the real board there to check the fit. Transfer the shapes to cardboard after the door, windows, and proportions look right.
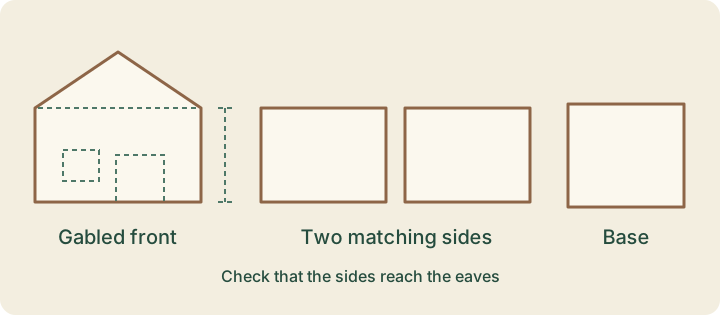
Label the two side walls, front wall, base, and roof pieces as you cut them. If you plan to leave the printed side of the cardboard visible, lay the parts out with that face up before tracing. This is especially helpful if you place a window off-center.
Cut and put the house together
Cut any windows while the front wall is flat. Cut out the walls, then hold them upright on the base without glue. Use small strips of thin card folded at a right angle to join the walls from inside. Test one strip on a scrap to see how easily the card folds and how much glue it needs.
Glue the front and side walls and check their corners with the square edge of a piece of paper. Let the joints firm up before fitting the roof. If the open back makes the walls splay, add a narrow strip across the back between them to hold them at the correct spacing.
For the roof, measure along one sloping edge of the gable and along the side wall. Cut two matching rectangles from those measurements. Rest them in place before gluing, adjusting both panels together if you want an overhang. Sight along the ridge from the front. If the two sides meet at different heights, check that the side walls are square and level before trimming a roof panel.
Give it a cottage finish
Add a four-pane cardboard window over a wall opening, or try the folded chimney if your roof matches its pitch. Both guides include a free Studio and A4 pattern. Paint the roof in a deeper color than the walls, or leave the edges exposed to show the cardboard layers. For a winter look, try a pale roof edge, a small wreath, and a nameplate above the door. The Winter Cottage in the styling concept uses the same basic shape with a chimney and a working front door.
Try the paint on an offcut first. Apply a thin coat and give the cardboard time to dry flat, especially for long roof panels. Add the nameplate and other trim after the paint has dried. Place the finished model at eye level for a moment to check that you can see the door and windows from its intended spot.
Set it on a shelf by itself or use it as the first house in a DIY Christmas village.