
House projects
How to make a cardboard garden cottage
Build a plain-kraft cottage with a side wing, arched windows, a chimney, a raised door and front steps, all from shipping-box board.
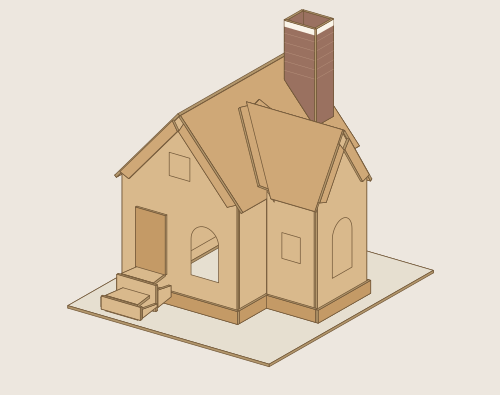


This cottage keeps cardboard looking like cardboard. The kraft surface and the striped flute edges become the finish, and the shape does the rest: a main gabled block, a lower wing whose roof meets the main roof in a valley, a chimney, arched windows and a pair of steps up to the door.
It is a longer build than a single box house. Plan an afternoon, and let each group of walls dry before the roof goes on.
Prepare your materials and tools
Start with clean, dry packaging you already have. A wavy layer at the cut edge means corrugated cardboard. A thin, solid edge means paperboard.
Cardboard boxes to look for
 Amazon or delivery box
Use a flat side away from tape, old folds, and crushed corners.
 Coke or Pepsi multipack
Look for a flat, solid edge. Use a large panel clear of handle holes.
 Cereal box
Try the broad front or back panel. Measure away from the glued seam.
 Clean pizza box
Check the lid for one wavy layer and matching thickness. Use an area free of grease and moisture.
Tools to put on the workbench
 Pencil, ruler and blunt scorer
Trace the pattern and mark fold lines. Use calipers to check board thickness.
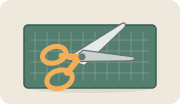 Scissors
Cut paper patterns, stickers and thin paperboard.
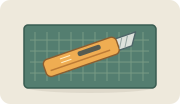 Craft knife, metal ruler and mat
Use light passes for stiff cardboard. An adult can handle the knife when children help.
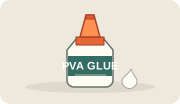 White PVA glue
Spread a thin coat on a flap. Test the bond on an offcut and hold the joint while it sets.
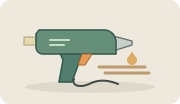 Low-temperature glue gun
Optional for thicker cardboard. An adult can test a thin bead on scrap and check that the joint still sits flat.
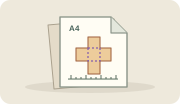
Prepare for Garden Cottage
A4 templates Use 210 × 297 mm paper. Print at 100% actual size and check the 100 mm scale on the sheet before tracing.
Use 2 mm single-wall corrugated cardboard. Select the matching board thickness in Studio.
Open the box along its taped seam and check that the largest pattern fits on a flat panel. Measure away from crushed edges and old folds. Cut a scrap first to test your blade, fold, and glue.
Prepare the board
Use clean, flat single-wall corrugated board about 2 mm thick. The base plate is the largest piece, so save the widest panel of the box for it. Keep the flutes vertical in the walls and horizontal in the roof and base.
Build it
- Check the print. Measure both 100 mm rulers on sheet 1.
- Build the main block: the two gables, then the two long walls, each glued by its foot and end flaps.
- Build the wing against the main block: its gable, then its two walls, with their back flaps glued to the main wall.
- Roof the main block, then the wing. The wing roof’s back flaps lie on the main roof; press them flat along the valley.
- Add the chimney, built separately from its own sheet, on the main roof behind the wing.
- Finish the front: the raised door, the two steps and the plinth strips along the bottom of the walls.
Finish
Leave it plain, or paint the walls chalk-white and keep the roof kraft. Keep paint and stickers off the valley and the chimney feet until the glue has set.