
Reuse and materials
Three cardboard box crafts to make from used packaging
Match the cardboard you have to a small gift box, a tabletop house, or a miniature dog house with a personalized sign.
Look at the edge of the packaging before you pick a project. A cereal box is made from a single layer of thin paperboard that scores and folds easily. The wavy middle layer in a shipping box gives it the stiffness to hold up a wall or roof. Use clean, flat areas and test a cut and a fold on an offcut.
Prepare your materials and tools
Start with clean, dry packaging you already have. A wavy layer at the cut edge means corrugated cardboard. A thin, solid edge means paperboard.
Cardboard boxes to look for
 Amazon or delivery box
Use a flat side away from tape, old folds, and crushed corners.
 Coke or Pepsi multipack
Look for a flat, solid edge. Use a large panel clear of handle holes.
 Cereal box
Try the broad front or back panel. Measure away from the glued seam.
 Clean pizza box
Check the lid for one wavy layer and matching thickness. Use an area free of grease and moisture.
Tools to put on the workbench
 Pencil, ruler and blunt scorer
Trace the pattern and mark fold lines. Use calipers to check board thickness.
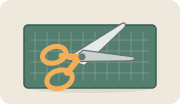 Scissors
Cut paper patterns, stickers and thin paperboard.
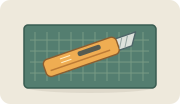 Craft knife, metal ruler and mat
Use light passes for stiff cardboard. An adult can handle the knife when children help.
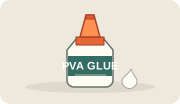 White PVA glue
Spread a thin coat on a flap. Test the bond on an offcut and hold the joint while it sets.
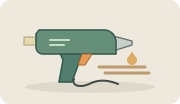 Low-temperature glue gun
Optional for thicker cardboard. An adult can test a thin bead on scrap and check that the joint still sits flat.
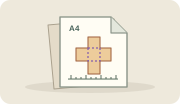
Prepare for Dog House with glue
A4 templates Use 210 × 297 mm paper. Print at 100% actual size and check the 100 mm scale on the sheet before tracing.
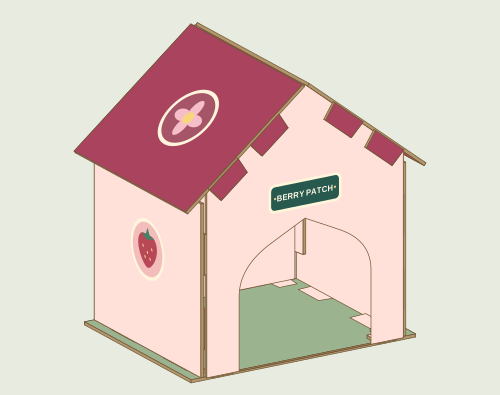
Finished display · About 17.1 × 13.2 × 17.9 cm (width × depth × height).
Use 2 mm or 3 mm single-wall corrugated cardboard. Select the matching board thickness in Studio.
Open the box along its taped seam and check that the largest pattern fits on a flat panel. Measure away from crushed edges and old folds. Cut a scrap first to test your blade, fold, and glue.
Leave the large pieces intact until you know the size of the project. If you only have a cereal box, start with the gift box. If you have a stiff shipping box, save a flat section for one of the little houses.
Make a small gift box
Use thin paperboard so the corners fold neatly. Sketch a cross with a square in the middle and four equally tall sides. Leave a small flap on one edge of each side so it can glue to the next. Make a paper mock-up first to see whether the gift fits, then score the fold lines with a blunt tool before cutting and gluing the card.
Score along the straight edges that surround the base and where each flap meets a side. Fold the sides up and check that the flaps sit inside the neighboring walls. Press each glued corner in place until it holds. For a separate lid, sketch a slightly larger base with shorter sides and test the fit in paper before cutting it in card. Add a paper band or a simple name tag once the glue sets.
Make a tabletop house
Use a firm shipping box for the walls and roof. Build a paper version first to decide where the door and windows should go. Once the main shape fits, try using thin card for trim and shutters. The DIY cardboard house guide walks through drawing and assembling the shape.
Keep the roof panels the same size and check how they meet at the peak before attaching them. A small offcut makes a useful chimney. Place it on the roof and mark the slope at its base before you trim it. If you want a house that opens from the back, keep the interior decorations shallow enough that the roof can sit flat.
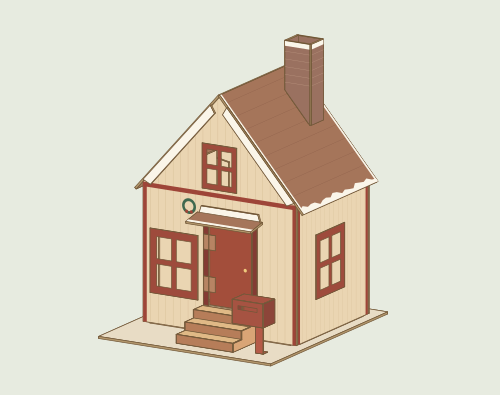
Make a miniature dog house
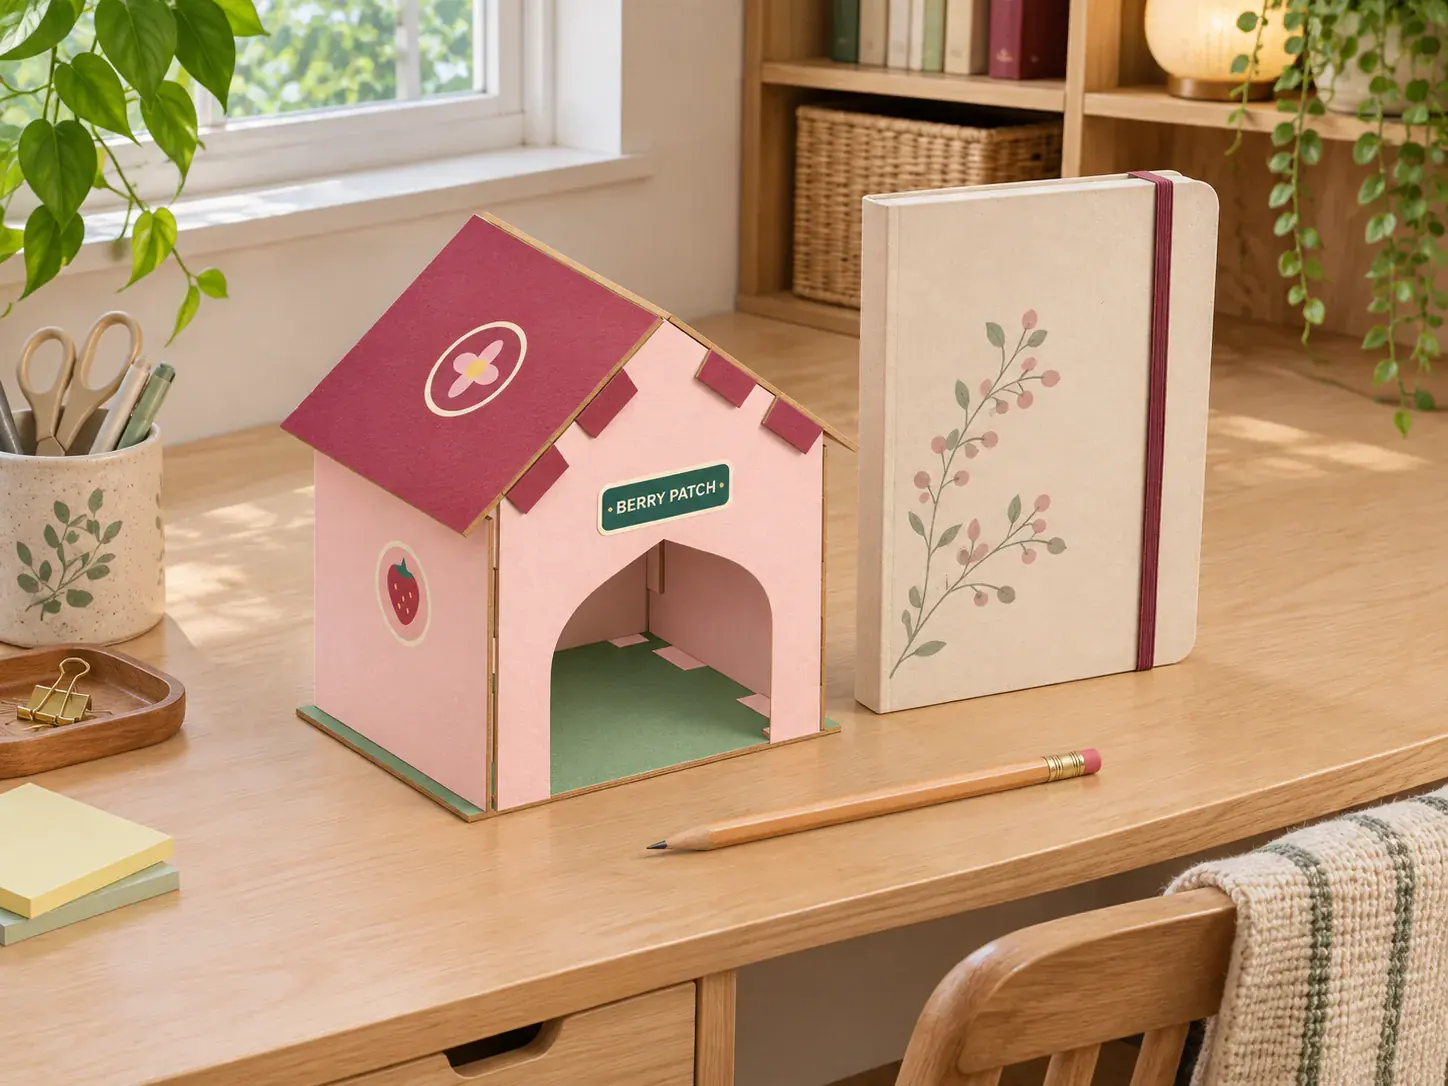
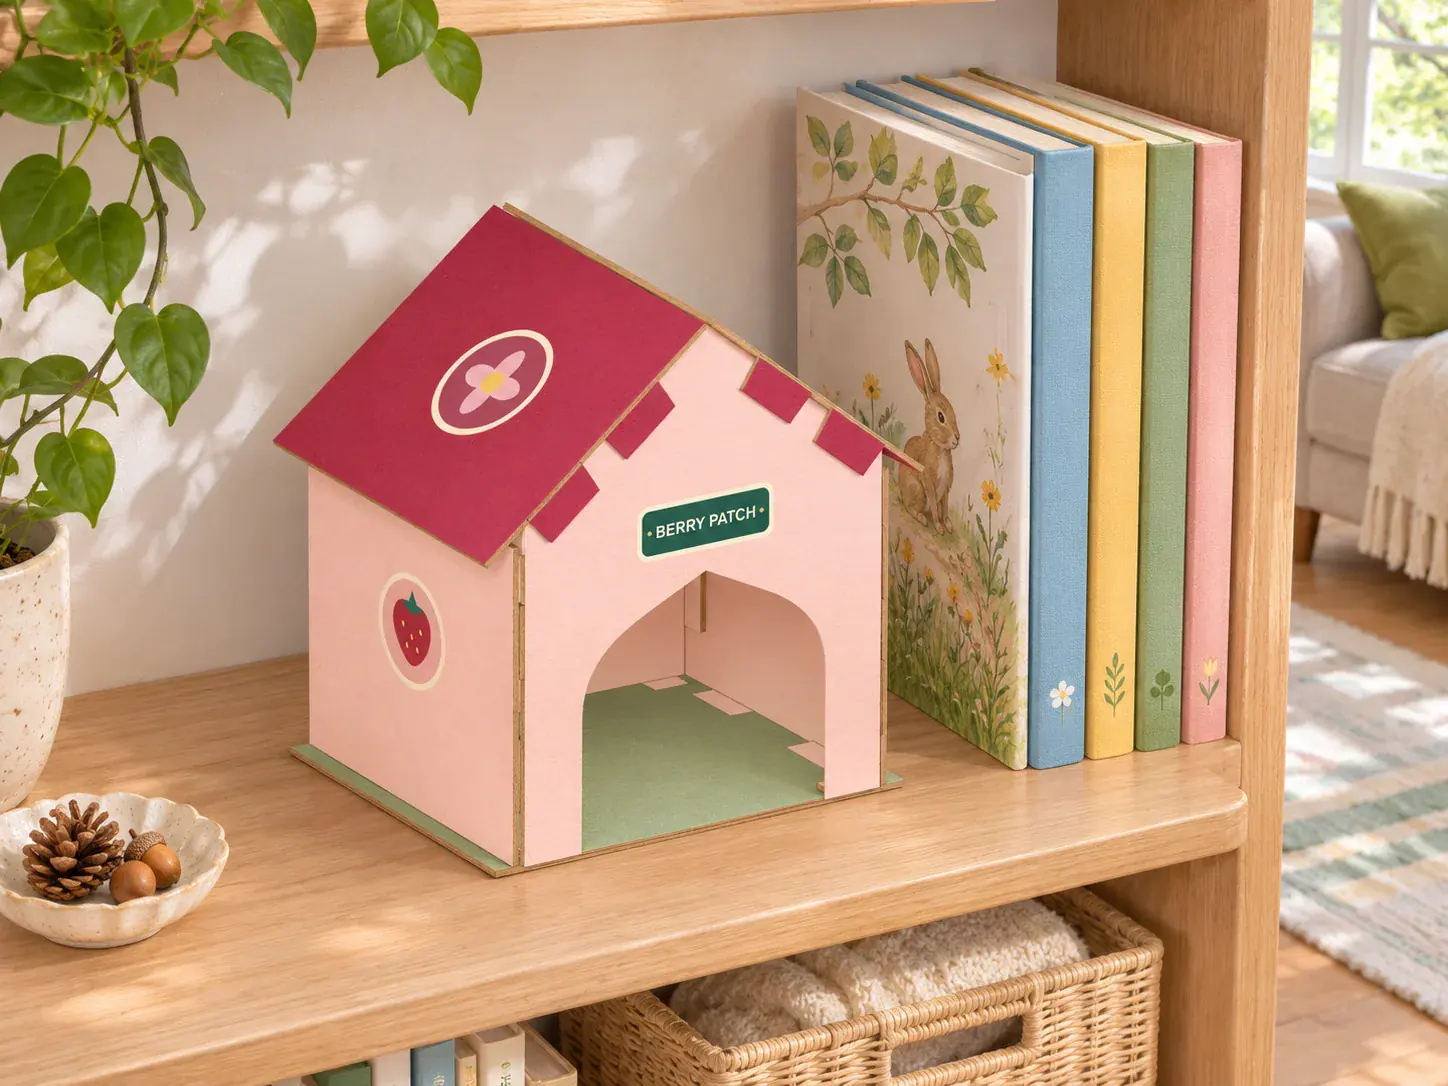
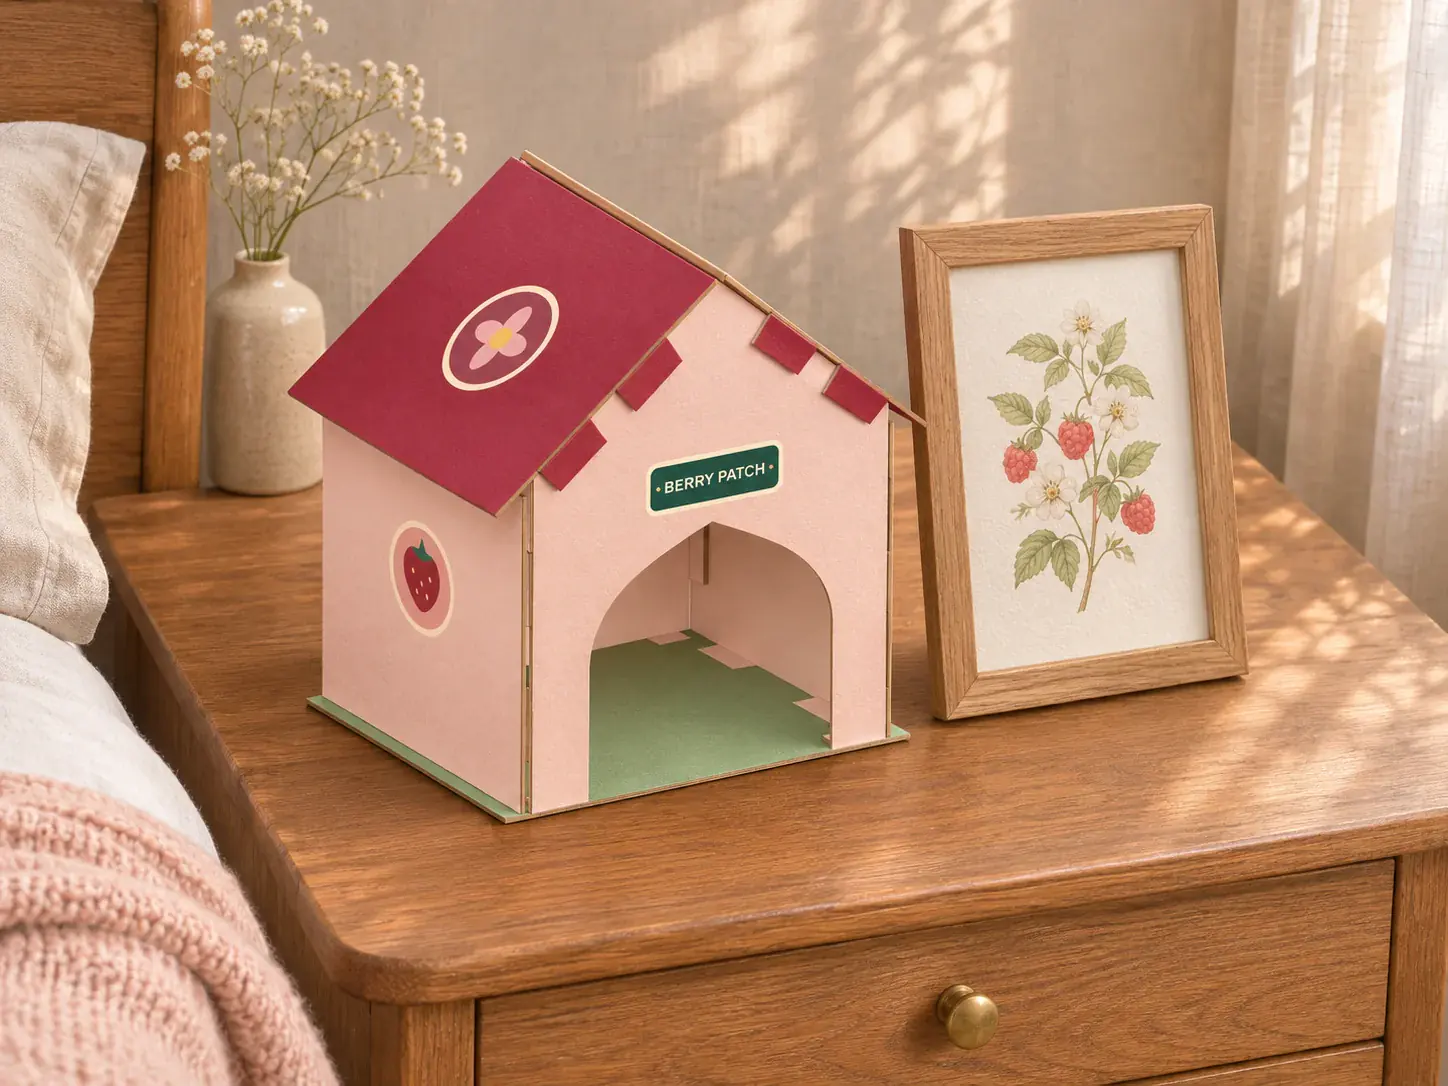
A low gable roof and a wide doorway give the dog house its shape. Mark the doorway on the flat front before you cut it, and test the roof on the standing walls before gluing it down. Cut a little nameplate from leftover cereal-box card and fit it above the doorway. Use a lighter color on the walls to make the sign and roof stand out.
Start by drawing the doorway on paper. Leave a strip of cardboard between the opening and each outside edge to support the front wall. If you have only small scraps, draw a narrower house or cut the two roof panels from different boxes of similar thickness. Set the miniature on its base and test how stable it feels before adding the sign.
Save the useful offcuts
Keep long strips for trim, squares for glue tests, and thin plain card for labels. Use one scrap as a color swatch for each build. When you make another piece later, the swatch gives you a reference for matching the roof and trim.