
Seasonal crafts
How to make a DIY Christmas village from cardboard
Turn small cardboard buildings into a holiday display with a town square, a winding path, and a coordinated gingerbread finish.
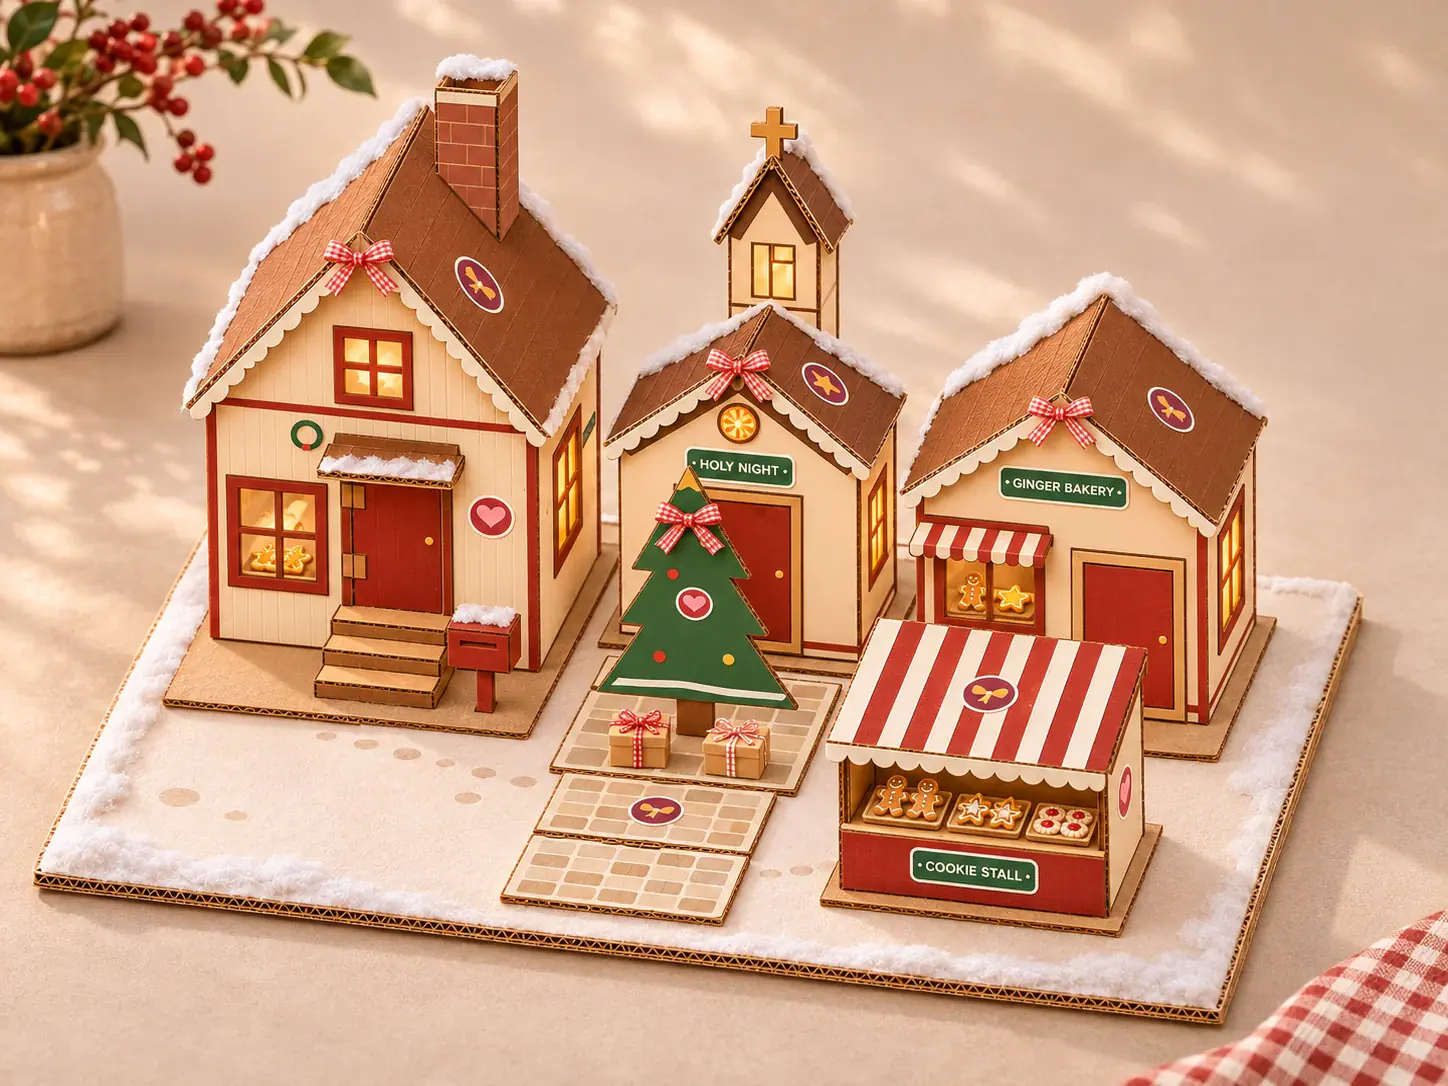
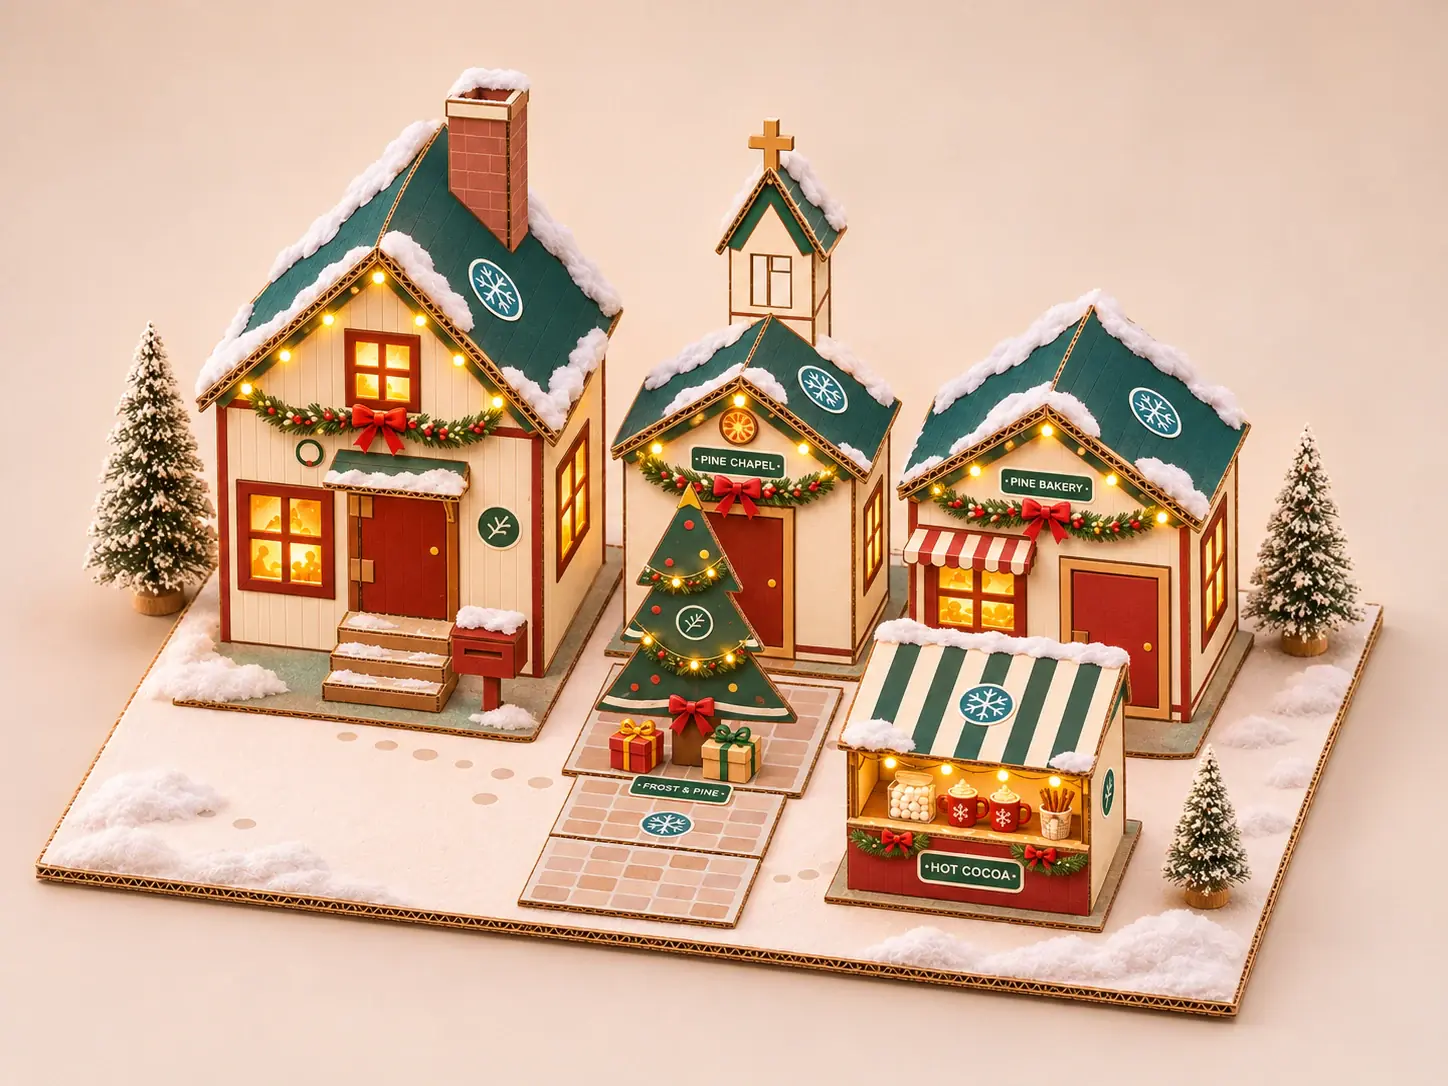
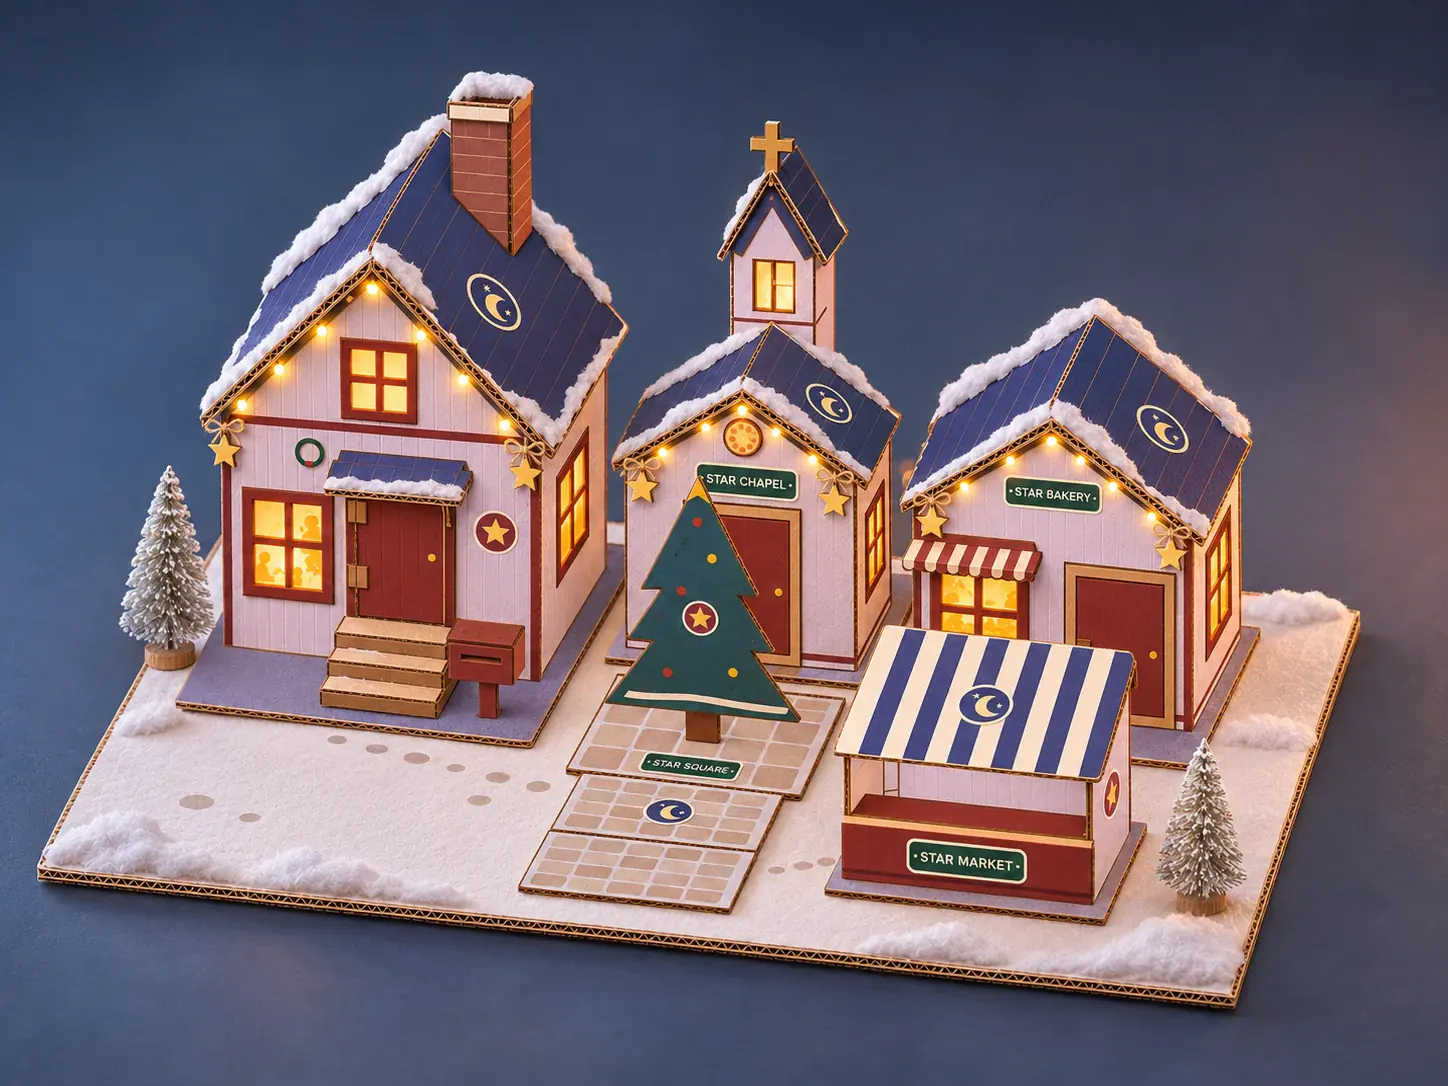
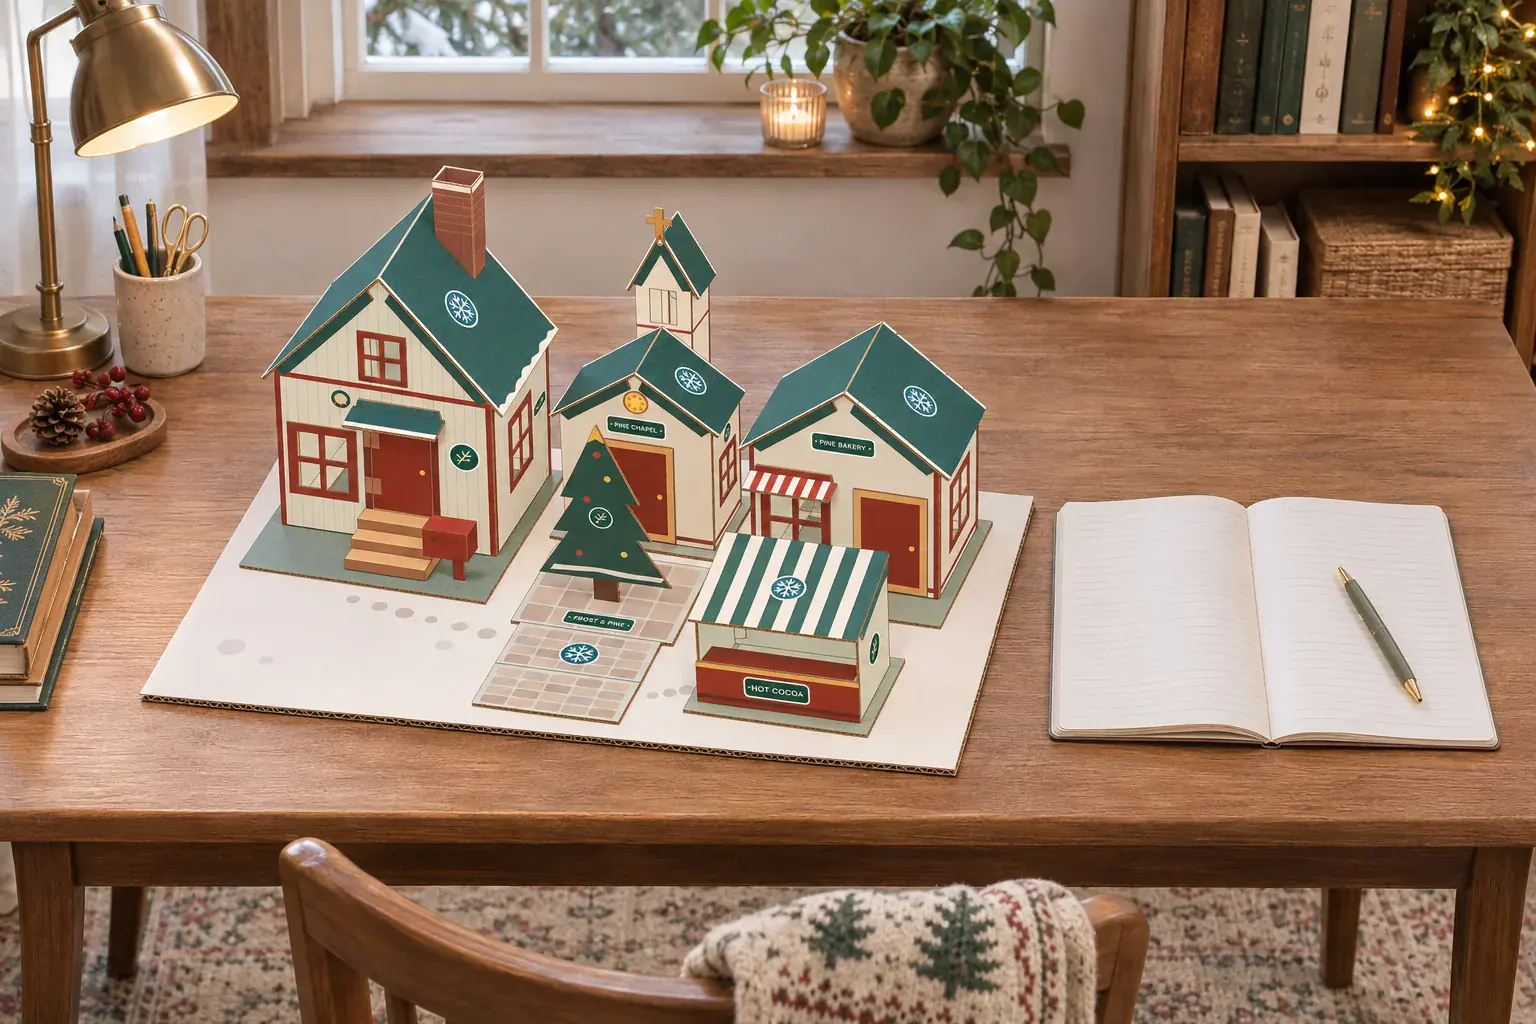
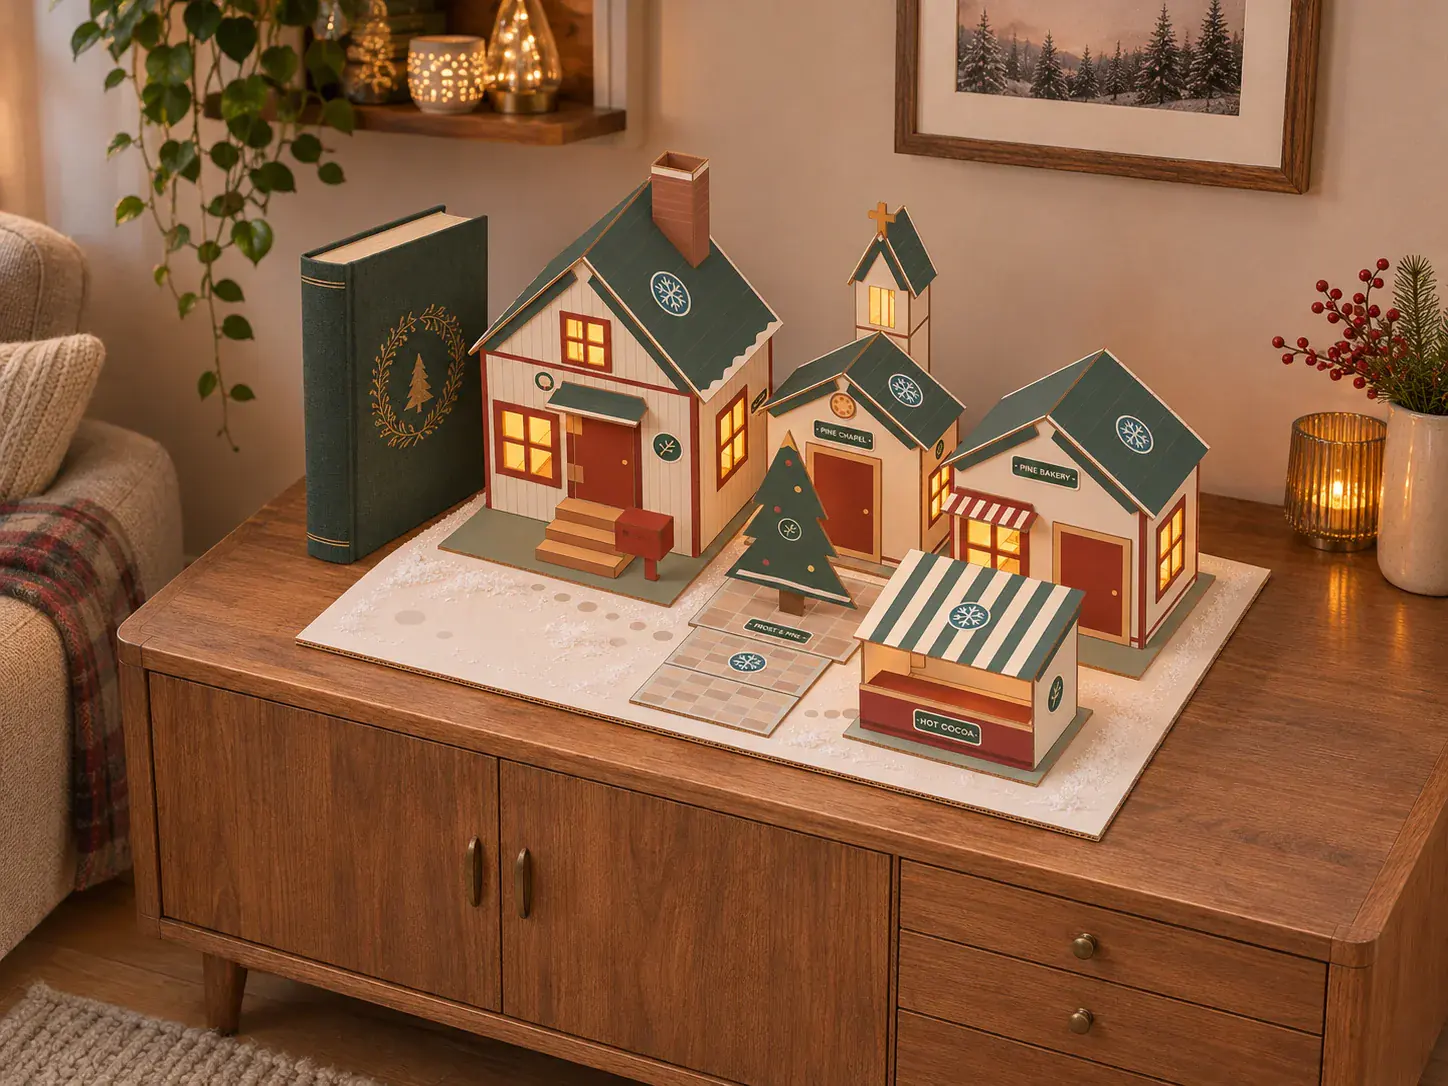
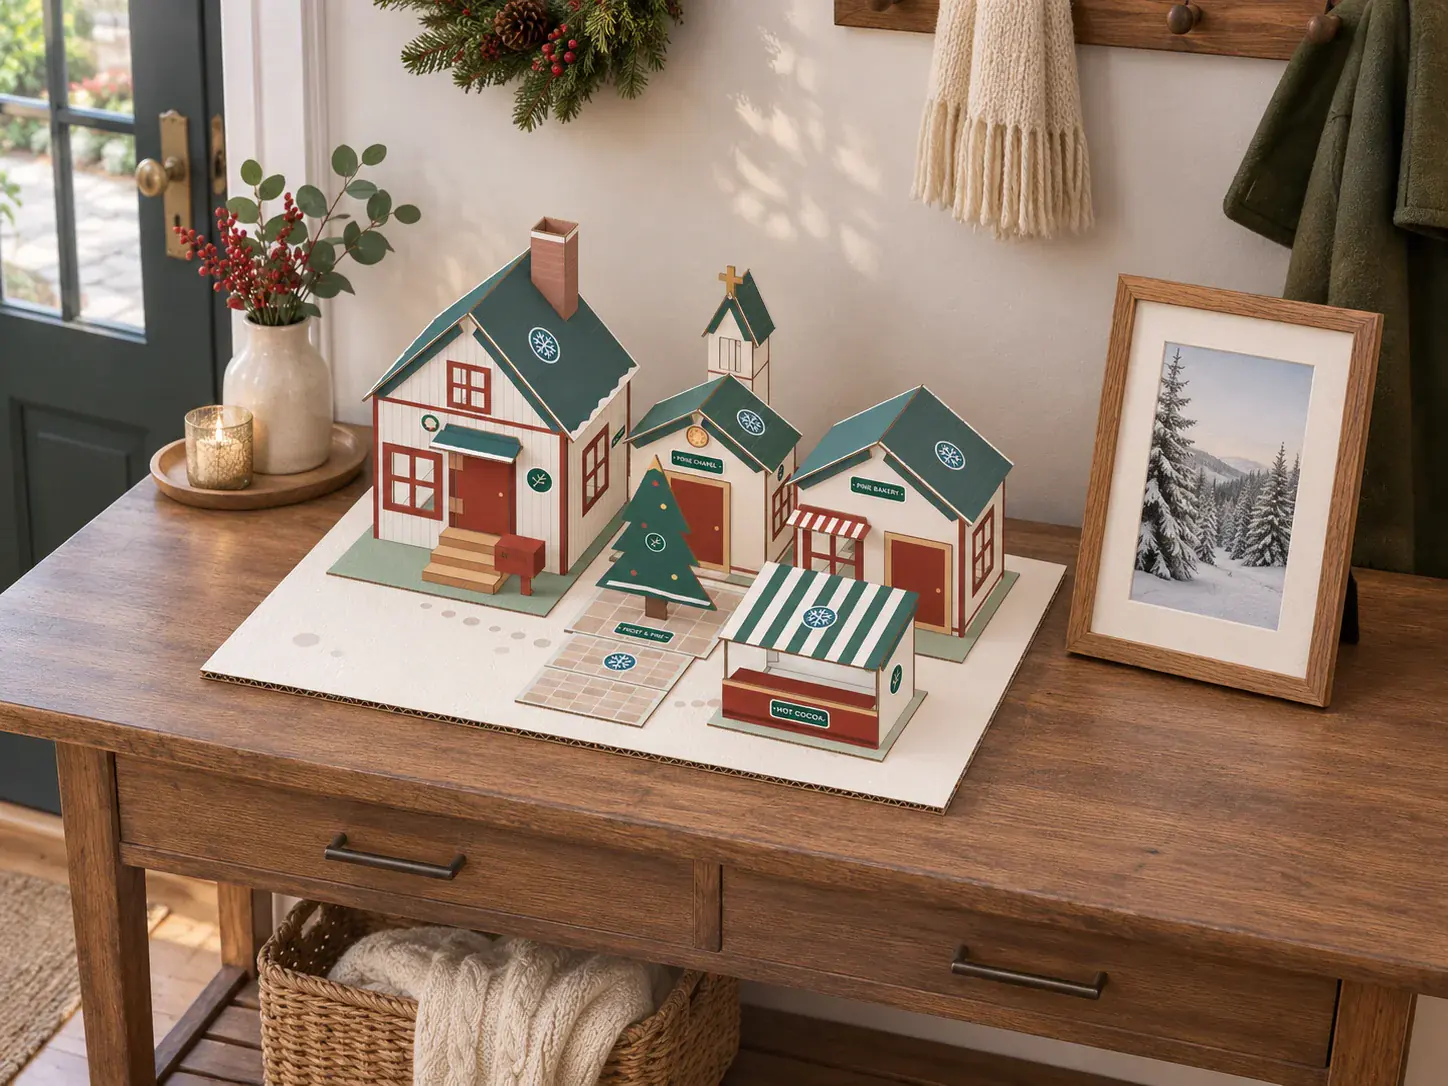
A cardboard Christmas village can begin with one house, one tree, and a strip of card for a path. Add buildings when you have time or keep the smaller display for a narrow shelf.
Prepare your materials and tools
Start with clean, dry packaging you already have. A wavy layer at the cut edge means corrugated cardboard. A thin, solid edge means paperboard.
Cardboard boxes to look for
 Amazon or delivery box
Use a flat side away from tape, old folds, and crushed corners.
 Coke or Pepsi multipack
Look for a flat, solid edge. Use a large panel clear of handle holes.
 Cereal box
Try the broad front or back panel. Measure away from the glued seam.
 Clean pizza box
Check the lid for one wavy layer and matching thickness. Use an area free of grease and moisture.
Tools to put on the workbench
 Pencil, ruler and blunt scorer
Trace the pattern and mark fold lines. Use calipers to check board thickness.
 Scissors
Cut paper patterns, stickers and thin paperboard.
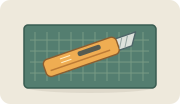 Craft knife, metal ruler and mat
Use light passes for stiff cardboard. An adult can handle the knife when children help.
 White PVA glue
Spread a thin coat on a flap. Test the bond on an offcut and hold the joint while it sets.
 Low-temperature glue gun
Optional for thicker cardboard. An adult can test a thin bead on scrap and check that the joint still sits flat.
 Flexible cloth tape
For the Winter Cottage door hinge.
Prepare for Christmas Village
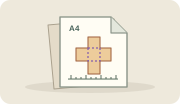
A4 templates Use 210 × 297 mm paper. Print at 100% actual size and check the 100 mm scale on the sheet before tracing.
Finished display · About 56 × 38 × 25.9 cm (width × depth × height).
Use 2 mm single-wall corrugated board for buildings and scenery, and 0.5 mm solid paperboard for the smaller details.
Cut the 560 × 380 mm display board by hand from a separate flat panel.
Open the box along its taped seam and check that the largest pattern fits on a flat panel. Measure away from crushed edges and old folds. Cut a scrap first to test your blade, fold, and glue.
Set aside space for the village
Measure the usable width and depth of the shelf or table and leave room above it for a tall roof or bell tower. Set the stiffest flat panel aside for the base. Gather paint and a small brush. Craft felt, small ornaments, and battery LEDs can add snow and light once the buildings are in place.
Cut a few paper rectangles for the buildings before you cut any cardboard. You can adjust their spacing while deciding which ones to make.
Plan the town square first
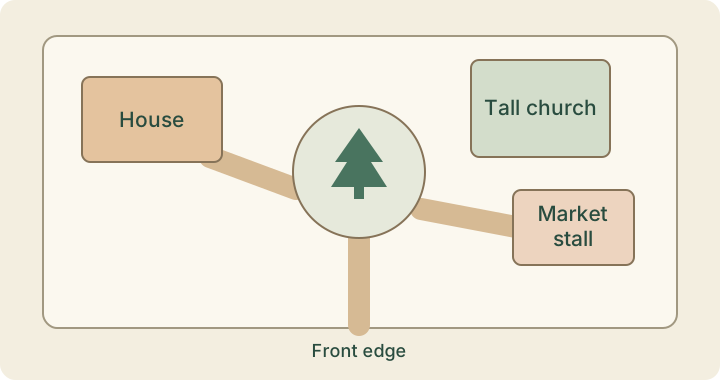
- Measure the display spot. Cut paper rectangles for the buildings and move them around on a piece of scrap cardboard. Keep the front row low enough to see the doors and windows behind it.
- Leave an open space. Put a tree or a bench in the middle and leave a path leading to it from the front edge. Try the arrangement from the same height that visitors will see it.
- Give each building its own base. The pieces are easier to paint, move, and store when they lift out of the scene.
The Colodaily showcase pairs the Winter Cottage with a bakery, a market stall, and a church around a shared town square. A simple cardboard house gives you a place to start if you are making your own village.
Try the scene with the tallest building at the back and a shorter market stall near a front corner. Turn one building slightly toward the square if the scene feels like a row of boxes. Use small pieces of tape to mark the positions while you work. Keep the tape away from painted surfaces.
Build and dry-fit the buildings
Start with one building and use it to judge the scale of the others. Cut windows before assembling the walls. Hold the pieces together first to see whether the door faces the path and whether the roof clears its neighbors. A small storefront can be a shallow box with an awning and a sign. Thin card can suggest a window frame or shutters without adding much weight.
Make the tree, paving stones, and signs from offcuts. A tree made from flat card shapes is light enough to move around as you test the layout. Set one row of paving stones between the front edge and the tree, then add the branch paths toward the doors.
Decorate like a gingerbread village
Use warm brown roofs, cream walls, and a repeated trim color. Add stripes to one shop awning and repeat that color on a door or sign elsewhere. Use a fine brush for pale lines around the window frames, then cut small hearts, wreaths, or shop signs from cereal-box card.
Test the main colors on cardboard scraps and look at them together in the room where the village will sit. A cinnamon-brown roof reads warmer against cream walls, while a deep green trim can pick up the color of a tree. Give each building one detail of its own, such as a bakery sign or a patterned awning. Repeat one accent across the village to connect the pieces.
Finish the display
Keep the area around each door clear so the building still reads as a little place someone could enter. Cut paving stones from leftover card and lay them out before gluing. A thin layer of white paper or craft snow around the edges lets the paths stay visible. Use battery-powered LED lights if you want lit windows and leave a way to reach the switches.
View the village from its normal angle once the lights and buildings are in place. Move any tree that blocks a doorway and keep the path visible from the front. For a small display, try leaving out one building and giving the tree more breathing room. Keep loose accessories together in a small box so you can rearrange the scene the next time you set it out.